
Mycelarium Underground Layers: Brown to Red
A layer-by-layer tour of the Mycelarium underground: Brown, Grey and Red Dirt, the stone mazes between them and what each depth is for.
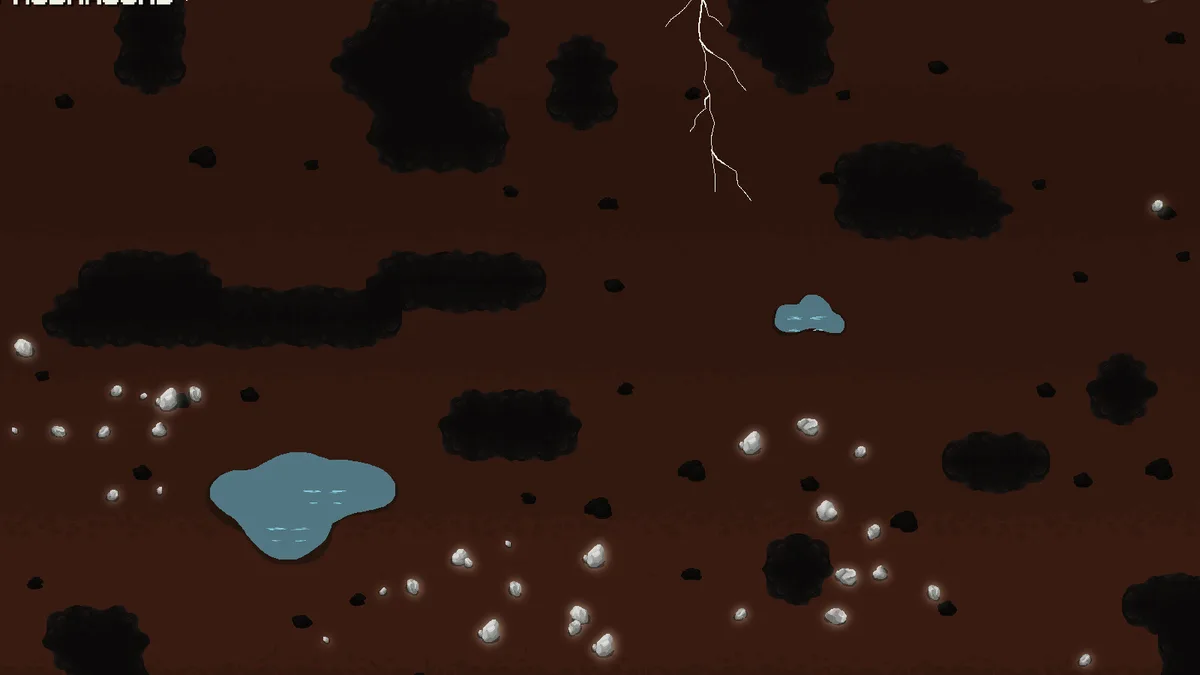
The Mycelarium underground is divided into three dirt layers, each with its own colour, resources and stone maze. Brown Dirt is the entry level, Grey Dirt holds the middle-tier magic shrooms, and Red Dirt is the deepest and most expensive. The layers are separated by hard soil and stone, so progress is gated by Soil Penetration rather than by a door.
This guide explains what each layer contains, how to pace the descent, and what to bring so a deep branch does not become a rescue mission.
The three layers at a glance
| Layer | Dirt colour | Access | Contains |
|---|---|---|---|
| 1 | Brown | Early Soil Penetration | Water pools, Water and Cosmos shrooms, first stone maze |
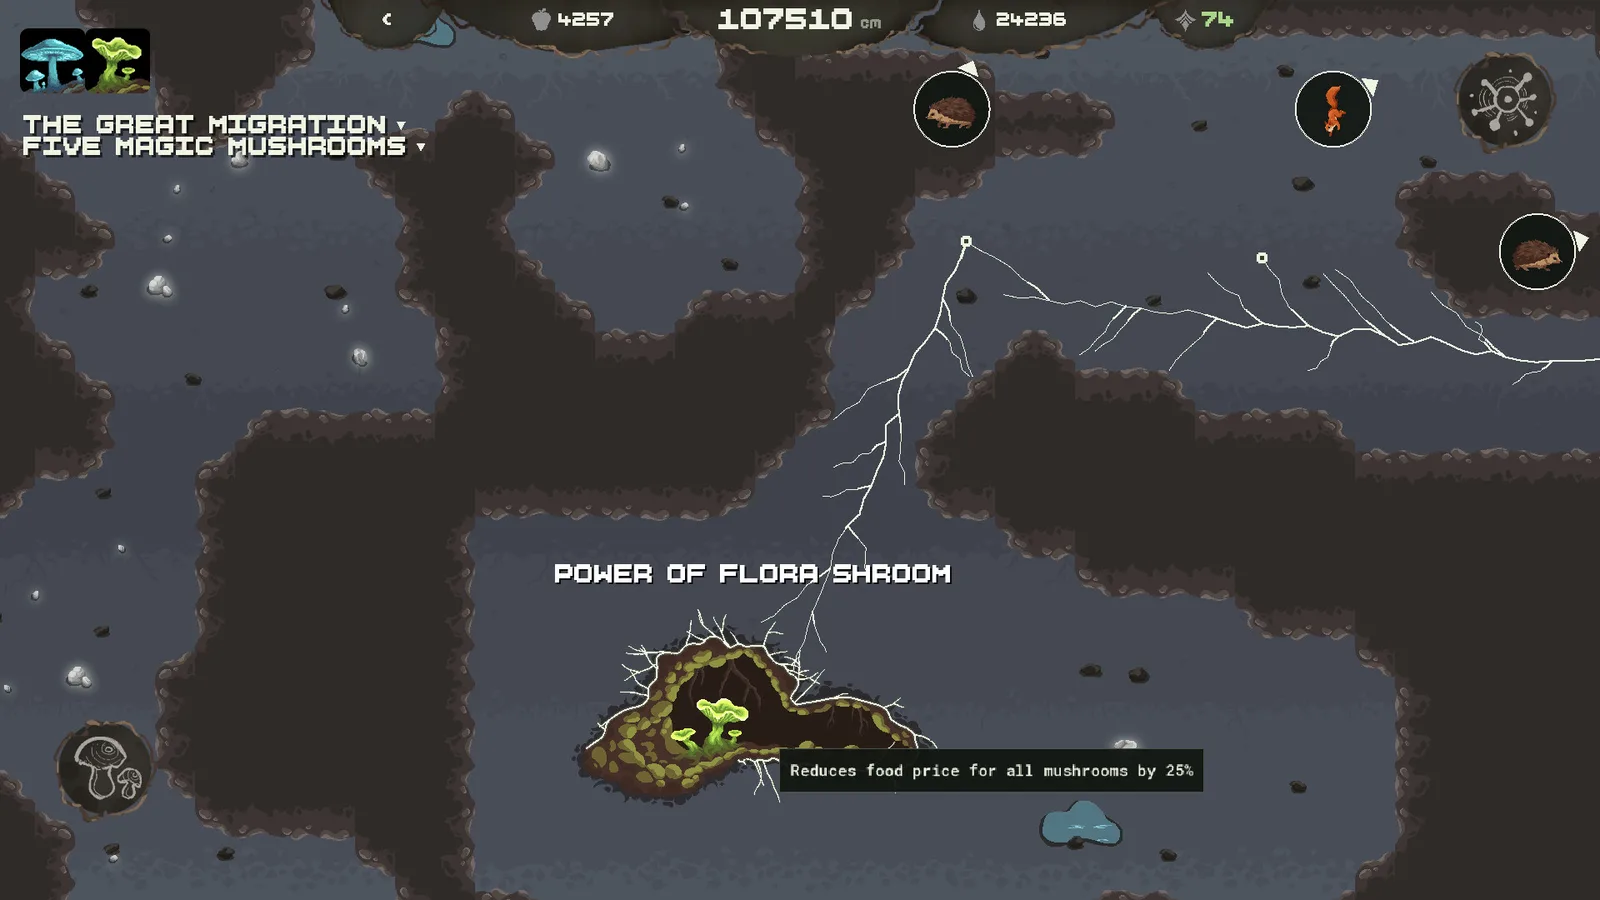
| 2 | Grey | More penetration | Flora and Fauna shrooms, larger mazes, reservoirs |
| 3 | Red | Deep penetration | Light Shroom, T-Rex skeleton, large pools |
The colour is the reliable tell. If the dirt under your network is grey, you are on layer two regardless of how deep the camera feels.
Layer 1: Brown Dirt
Brown Dirt is the tutorial layer. It is close to the surface, it holds the first pools, and it contains two of the five magic shrooms: the blue Water Shroom and the purple Cosmos Shroom (the latter inside the stone maze).
What to do here:
- Connect one pool before pushing deeper.
- Clear the maze for the Cosmos Shroom; the glow is visible in dark chambers.
- Do not over-invest in penetration. One or two points are enough for this layer.
Brown Dirt is also where the game teaches the stone-maze pattern: a wall with a gap, a chamber behind it, and a resource inside. Once you recognise the pattern, the deeper layers are navigable.
Layer 2: Grey Dirt
Grey Dirt is the middle layer and the most valuable per minute. It holds both the Flora Shroom (the 25% food discount, confirmed by tooltip) and the Fauna Shroom (community-reported squirrel repellent), often in the same maze.
What to do here:
- Find Flora first. The discount pays for the rest of the run.
- Bring a Water Mushroom or a connected pool; the maze is long and the branch is thirsty.
- Watch for animals on the surface route above; a stolen producer can strand the descent.
Grey Dirt is where the run changes from survival to expansion. The Flora discount makes every subsequent mushroom cheaper, including the ones you build to go deeper.
Layer 3: Red Dirt
Red Dirt is the deep layer. It holds the yellow Light Shroom, the T-Rex skeleton (the Days of the past achievement), and the largest pools. The pushes are expensive, and the return trip is long.
What to do here:
- Bring water production, not just stored water.
- Bring a Spore Mushroom if the surface route is blocked; the island is worth it for the Light Shroom.
- Explore the skeleton area separately from the shroom; they are different goals.
Red Dirt is also where the ending content sits. The Great Migration narrative and the alien ship are connected to the deep map, and the ending guide→ covers the trigger without spoiling the sequence.
The most common deep-run mistake is a one-way branch. Before you cross the last stone wall, confirm that the route back has water and that the surface network is still producing food. A deep base with no return is a slow bleed.
How much penetration do you need?
Enough for the layer you are entering, not for the layer after it. The upgrade is permanent, so buying it early is not wasted, but the points are better spent on production until a target is visible.
A practical rule:
- Layer 1: one or two points.
- Layer 2: two or three points plus a Digger Mushroom if the maze is tight.
- Layer 3: the full branch, because the barriers are thicker and the distances longer.
The Digger Mushroom's Digger Length branch is the alternative to raw penetration. A fully upgraded Digger is also an achievement, so the investment doubles as completion progress.
What is in the stone mazes?
Stone mazes are the layer's puzzle. They contain:
- Magic shroom alcoves.
- Water reservoirs.
- Dead ends that look like routes.
- Occasionally, the skeleton and alien content on the deep layer.
The maze is procedural, so a map from another run will not match. The pattern does: follow the wall, look for the gap, and check every chamber before moving on.
How should you pace the descent?
The pacing that works for most players:
- Stabilise the surface food loop.
- Take layer one's pool and one magic shroom.
- Build a Water Mushroom before layer two.
- Clear layer two for Flora.
- Push layer three only when water and food are both automated.
Rushing layer three for the Light Shroom before the economy is ready produces a spectacular but short-lived branch. The automation guide→ covers the loops that make the deep push sustainable.
FAQ
How many layers are there?
Three confirmed dirt layers: Brown, Grey and Red. The maze geometry varies per run.
Do layers reset?
No. The map persists in the save, including cleared chambers and consumed pools.
Can you go back to the surface?
Yes. The network connects the layers, and growth can be made in either direction from any node.
Is there anything below Red Dirt?
No fourth layer is confirmed in the current build. The deep content sits within Red Dirt.
Official source: Mycelarium on Steam ↗ Official source: Achievements list ↗
The Steam discussions hub ↗ has player reports on layer layouts and penetration costs; the achievement page ↗ confirms the deep-map secrets.